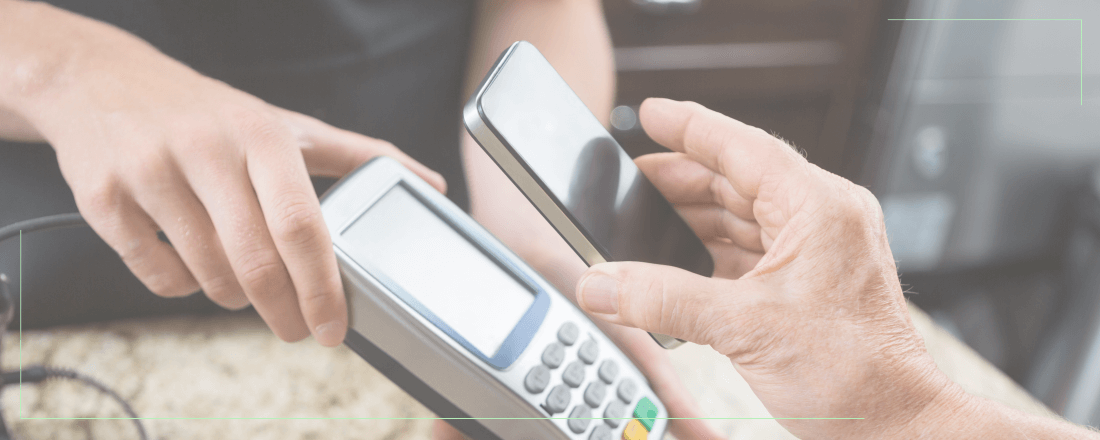
It’s no secret that the invention of credit cards completely revolutionized the shopping experience. Now the payment experience is under a revolution of its own. Services such as Apple Pay allow shoppers to save their credit information on their iPhone and use it a payment method. You’ll find that with the availability of services such as Apple Pay and the iCloud keychain, the only thing anyone needs to shop is an iPhone.
Setting up Apple Pay
Users of iPhones will find that adding their credit card to Apple Pay is an easy process. Aside from iPhones, Apple Pay can be setup on a variety of Apple devices including iPads, Macs and Apple watches. Apple Pay must be setup on an iPhone, to be used at a retail store that accepts Apple Pay.
Step 1: Figure out if your Apple device is eligible for Apple pay
Before you can begin attempting to use Apple Pay, you must ensure that the Apple device you intend to use is in fact compatible with Apple Pay technology. The iPhone SE is currently the oldest iPhone that is still compatible with Apple Pay. Every iPhone released after the SE including the iPhones 6, 6 Plus, 6s, 6s Plus, 7, 7 Plus, 8, 8 Plus and the iPhone X; will also be compatible with Apple Pay. Apple watches can also be paired with your phone to do the same exact thing.
Step 2: Ensure the card you wish to add is a supported credit card from a participating issuer
Apple Pay can be used with a copious amount of
Step 3: Install the latest version of iOS on your device
Many Apple users will instantly update their various devices the moment they notice a new iOS update is available. If your iOS device is up to date, this step can be skipped, but if you happen to be someone who continuously postpones their devices updates, it’s highly recommended that you take the time to update your device before attempting to use Apple Pay. Aside from the fact that your device needs to be have iOS 8.1 or later to successfully run Apple Pay, regularly updating your device will provide you with all the latest bug fixes and security improvements that have been added.

Step 4: Sign in to your Apple ID
All iPhone users should already have their own Apple ID. Without an Apple ID, the iPhone is rendered useless. An Apple ID is required to access many of the iPhones key features including the App Store, iTunes and yes, even Apple Pay.
Step 5: Visit your Apple Wallet App and select the “+” button to add a credit card
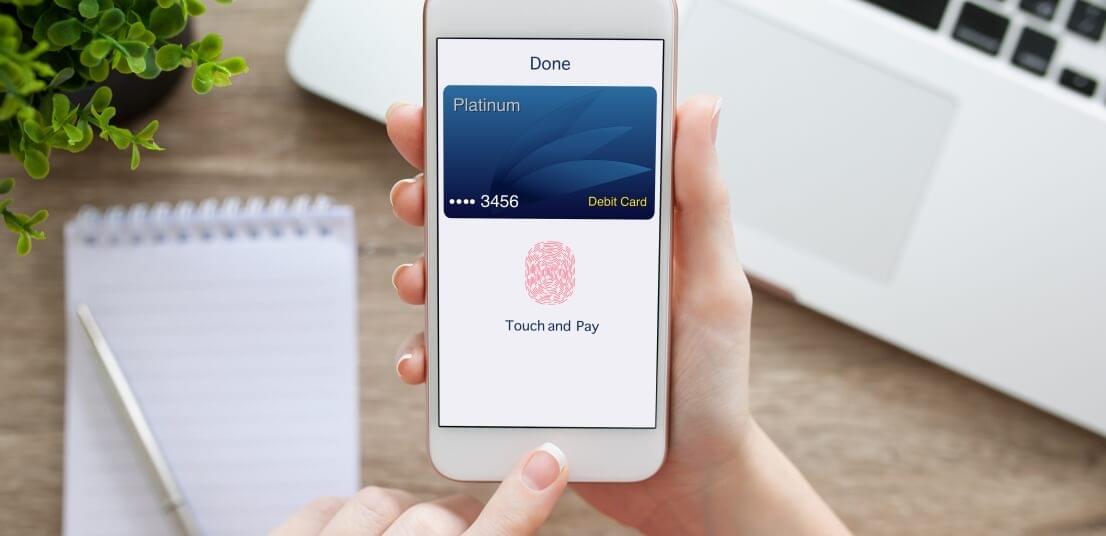
Since the release of iOS 6 in the year 2012, every iPhone has come with the Apple Wallet app pre-installed. Aside from being used as a virtual coupon book, Apple wallet stores all your eligible credit card information, so it can be used with Apple Pay.
Step 6: Choose which card you would like to add
Once you’ve decided which card you want to use, click continue to add it to your Apple Wallet. After clicking continue, you will be able to either enter the card’s information manually or scan it using the camera on your phone.
If you already have a credit card attached to your Apple ID, Apple Wallet will already have its information saved. To enable the card for Apple Pay purchases, simply select it and enter the security code. Once this has been done, the card will always be ready for use with Apple Pay.
Step 7: Get ready to start spending
Once all your credit card information has been entered, Apple will take a few seconds to verify it. After your credit card has been successfully added to your Apple Wallet, you’re pretty much ready to start using Apple Pay. The next time you’re out shopping, keep your eyes peeled for the Apple Pay logo to enjoy a quick and convenient checkout process.
Setting up iCloud Keychain
All iPhones and iOS devices after the iOS 7.0.3 update include the ability to use the iCloud Keychain, which saves various bits of your personal information used with AutoFill in Safari, including website login passwords and credit card numbers. By using iCloud Keychain, you can avoid having to look for your wallet every time you wish to make an online purchase. It will also keep your Wi-Fi network information up to date across all your devices. Everything you store in the iCloud Keychain is secured and protected by industry-standard encryption.
Step 1: Enable the Keychain
The first thing you need to do before successfully beginning to use the iCloud Keychain is to enable it. This can be done by visiting the settings on your iPhone and selecting the very first option that says your name. After that, select iCloud, select Keychain and slide the button to turn it on, and then continue following the instruction on your screen.
Step 2: Update your autofill information
The iCloud Keychain is all about making your relevant information easy to access across all your Apple devices. To ensure iCloud Keychain currently has your most up-to-date information, visit your settings again, scroll down the list and select Safari. After this, select the option that says passwords and autofill, then select saved credit cards. Here you can choose to either manage the cards that are already saved or you can add a new one.
Step 3: Approve your other Apple devices
To fulfill the true purpose of the iCloud Keychain, you need to make sure that your other apple devices have access to your iCloud Keychain. If two-factor authentication, you can set up iCloud Keychain on your other Apple devices by simply entering the login information you used with iCloud Keychain.
Step 4: Enjoy convenience when using Safari
Once iCloud Keychain has been approved across all your Apple devices, you’re all set and ready to go. When using Safari for online purchases, the iCloud Keychain will be ready to enter personal information for you with the click of a button.